
Description
MINI TRIKE FRAME KIT: BUILD YOUR OWN CUSTOM SHIFTEDSTANDARD MINI BIKE
Are you ready to dive into an exciting DIY project? Building your own mini trike frame kit lets you design a ride that matches your personal style while sharpening your mechanical skills. In this guide, we’ll explore the world of ShiftedStandard mini trike frame kits and give you everything you need to kickstart your custom build.
INTRODUCTION TO SHIFTEDSTANDARD MINI TRIKE FRAME KIT
What is a ShiftedStandard Mini Trike?
A ShiftedStandard mini trike is a compact, three-wheeled vehicle that merges the thrill of a motorcycle with the stability of a trike. With a lightweight frame and small engine, it’s perfect for laid-back cruising or adrenaline-filled rides. Building your own gives you the freedom to add personal modifications and design features unique to your ride.
Benefits of Building Your Own ShiftedStandard Mini Trike
Building your own trike offers multiple benefits. First, you get full customization—from the frame kit to the engine—tailored to your preferences. Second, the DIY process helps you gain hands-on mechanical experience. Third, it can be more cost-effective than buying a pre-assembled bike and gives you the satisfaction of creating something from scratch.
Overview of the DIY Mini Trike Frame Kit
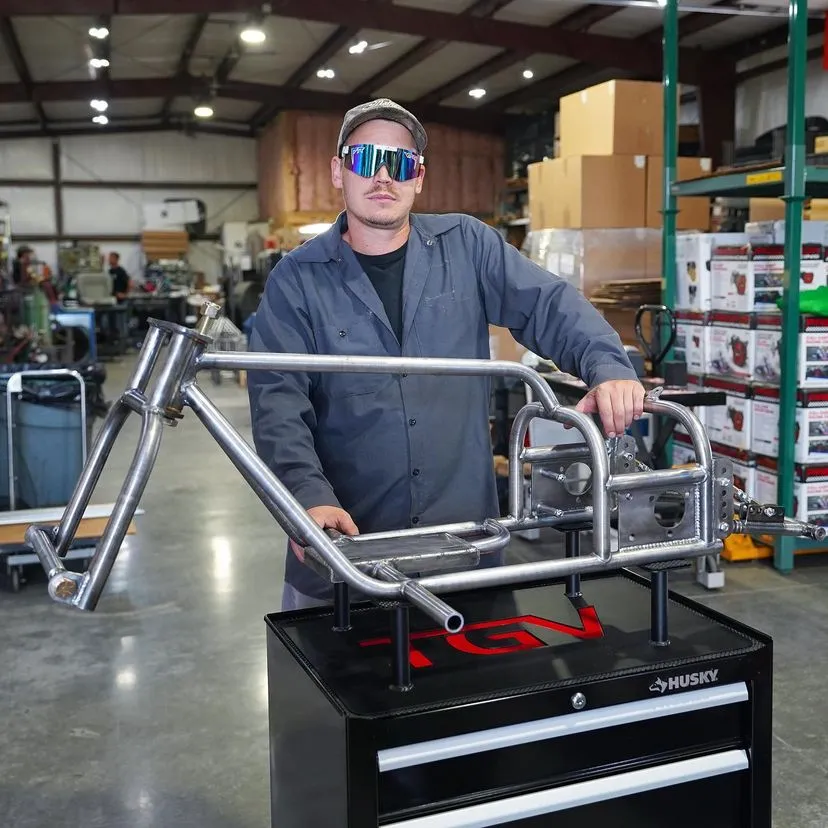
The DIY ShiftedStandard mini trike frame kit includes essential components like the frame, wheel mounts, and engine supports. Whether you’re a beginner or a seasoned builder, these kits usually come with detailed plans to guide your process. With options like the Predator Ghost 212cc engine, you can craft a mini trike that’s both high-performance and visually striking.
UNDERSTANDING THE SHIFTEDSTANDARD MINI TRIKE FRAME KIT
Components of a ShiftedStandard Mini Trike Frame Kit
Each frame kit includes vital components such as the chassis, rear axle, and wheel assemblies. These parts work together to ensure your ride remains stable and smooth. Notably, the frame design significantly affects handling and performance.
Materials Used in Construction
ShiftedStandard kits are typically built with durable steel tubing, offering high strength and wear resistance. Essential systems like brakes and the sprocket are engineered for safety and consistent power delivery.
How to Choose the Right Frame Plans
When selecting frame plans, consider factors like size, materials, and part compatibility. Reliable mini trike frame plans should be easy to follow and cover all key aspects. Researching and reading reviews can help ensure a smart purchase.
BEST MINI BIKE TRIKE FRAME KIT
Planning Your Custom Build
Planning is crucial for a successful ShiftedStandard mini bike project. This includes outlining your design, deciding on dimensions, and selecting strong materials. A solid plan paves the way for a smooth build.
Design Considerations
Aim for a balance between style, performance, and weight. Choose a frame that’s light for speed but sturdy for safety. Ensure it fits engines like the Predator Ghost 212cc and includes disc brakes for better control.
Creating a Build Plan
Sketch your trike design on paper or digitally. Make a parts list—from the rear axle to the wheels—and organize each phase of the build. This keeps the project efficient and error-free.
Essential Tools
Key tools include:
- MIG or TIG welder for frame construction
- Wrenches and screwdrivers for assembly
- A torque converter for improved power delivery
Having the right tools ready will streamline your build.
STEP-BY-STEP GUIDE TO BUILDING A CUSTOM MINI TRIKE FRAME
Preparing Your Frame Kit
Start by laying out your ShiftedStandard kit and verifying all parts. Review the instructions to understand each step clearly before starting.
Welding the Frame
Use proper welding techniques to assemble the frame. MIG or TIG welding ensures strong, clean joints. Solid welds are crucial for frame integrity.
Assembling the Chassis
Assemble the frame, rear axle, and wheels as per your plan. Check alignment carefully. Install brakes and the engine mount for a safe, reliable ride.
CUSTOMIZING YOUR MINI TRIKE
Choosing the Right Wheels
Your wheels affect both performance and aesthetics. Select lightweight, durable wheels. For mixed terrain, consider off-road tires.
Rear Axle & Sprocket Assembly
A strong rear axle is key to withstanding acceleration forces. Match it with a suitable sprocket for smooth power transfer.
Brakes and Custom Features
Install disc brakes for optimal stopping power. Customize with unique seats, LED lighting, paint, or decals to show off your personal style.
TESTING AND RIDING YOUR SHIFTEDSTANDARD MINI TRIKE
Safety First
Always use protective gear, including a helmet and gloves. Before riding, inspect brakes, wheels, and the engine.
Testing Performance
Choose a safe location for your first test ride. Evaluate acceleration, steering, and braking. Make necessary tweaks for an improved experience.
Tips for Enjoyment
Experiment with various terrains, try light drifting, or ride with friends. Join online groups to connect and learn from other builders.
CONCLUSION: BUILDING YOUR SHIFTEDSTANDARD MINI TRIKE
Recap
Constructing your own ShiftedStandard mini trike involves detailed planning, precise assembly, welding, customization, and performance testing. It’s a rewarding process that results in a ride that’s truly your own.
Keep Customizing and Innovating
Don’t stop with your first build. Keep exploring new upgrades and design ideas. The more you build, the better your projects become.
Learn More
Use online videos, tutorials, and forums to deepen your skills. Every bit of knowledge will enhance your next ride.


Reviews
There are no reviews yet.